
Why Concrete Prep Makes or Breaks a Garage Floor Coating
· By Helio Lopes de Gois
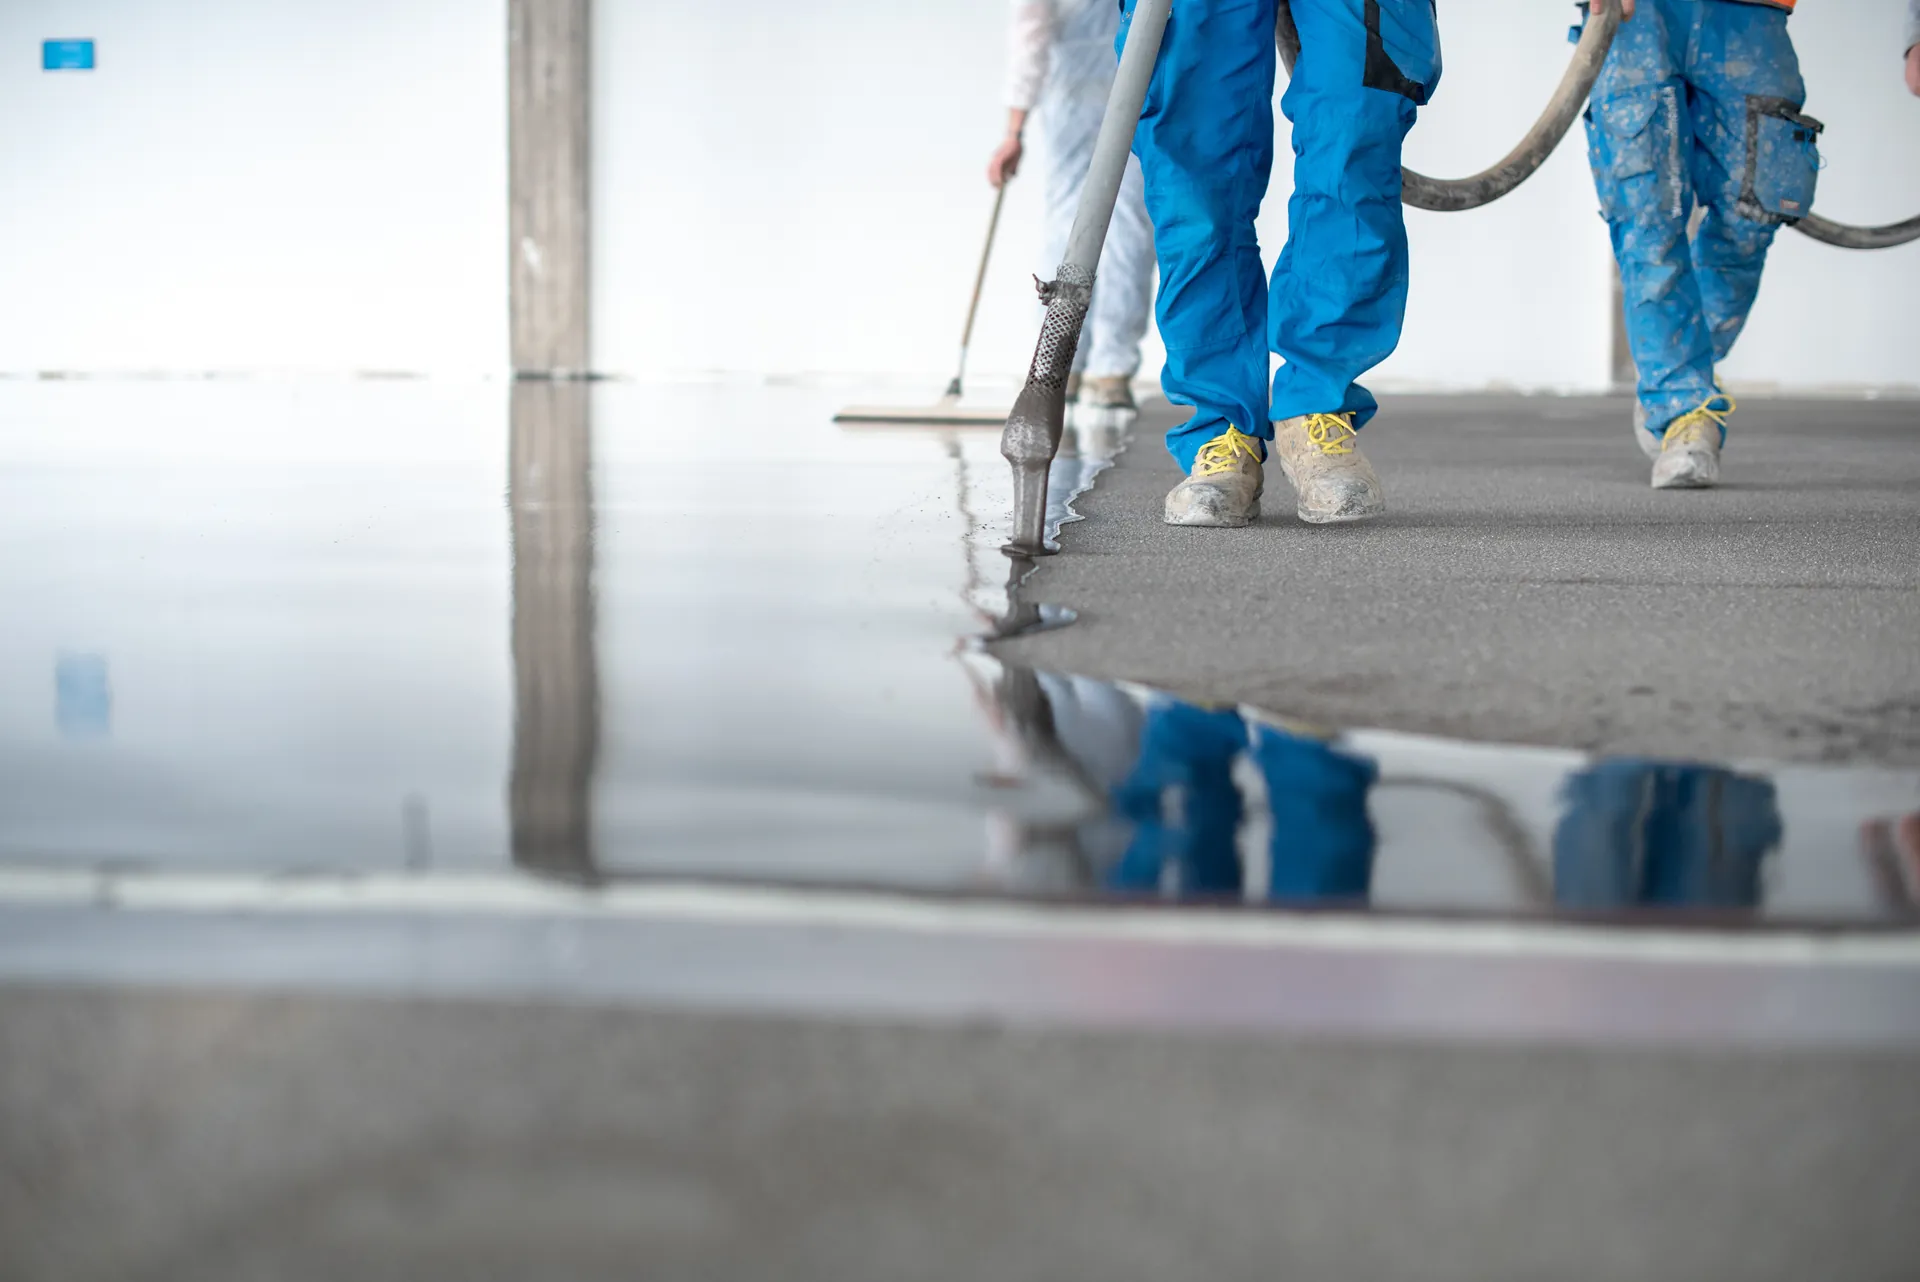
When a garage floor coating fails, people blame the product. Almost always, the real problem started before any coating touched the slab. The coating did not fail. The bond did. And the bond is created during prep, long before the first coat goes down.
Ask installers who have been doing this for years and most will tell you the same thing: as a rule of thumb, roughly 80 percent of a floor's lifespan is decided at the prep stage. The coating is the easy part. Grinding the concrete, opening its surface, fixing cracks, and confirming the slab is dry is the work that actually keeps the floor stuck down. This is the difference between a floor that looks great for a decade and one that peels in a Florida summer.
Diamond Grinding vs Acid Etching: One Bonds, One Fails
A coating cannot grip a smooth, sealed concrete surface. It needs texture, a microscopic roughness the industry calls a concrete surface profile. There are two common ways to create it, and they are not equal.
Diamond grinding uses a machine fitted with industrial diamond segments to physically abrade the top layer of the slab. It removes old sealers, curing compounds, glue, paint, and the weak surface skin that forms as concrete cures. What is left is clean, open, mechanically roughened concrete that a polyaspartic or epoxy can lock into. This is the method serious installers use, and it is the method that lets us walk a floor back with confidence.
Acid etching is the shortcut. You pour an acid wash on the slab, it foams, you rinse it off, and the surface feels a little rough. The problem is that acid etching is inconsistent. It cannot cut through sealers or dense troweled concrete, and it leaves residue that has to be neutralized perfectly or it undermines the bond. On a garage floor that has seen years of tires, oil, and cleaning products, an acid wash barely opens the surface. The coating goes on, looks fine for a while, then lets go. If someone quotes a garage floor and the prep plan is a jug of acid and a hose, that is a red flag.
Cracks and Spalling Have to Be Fixed First, Not Coated Over
Concrete cracks. It is a normal part of how slabs behave as they cure and as the ground moves under them. Central Florida slabs also deal with heat, humidity, and settling soil, so hairline cracks and surface spalling (where the top layer flakes or pits) are common, especially on older floors.
A coating is not a repair. If you roll polyaspartic over an open crack or a spalled patch, the flaw does not disappear. It telegraphs through the finish, and it becomes the exact spot where water and stress start pulling the coating off. Good prep means chasing out cracks, cleaning the pits, and filling them with a rigid repair compound ground flush so the surface is uniform before any color goes down.
This is also where honesty matters. A floor with heavy structural cracking or active moisture intrusion sometimes needs more than a coating, and a prep-first installer will tell you that up front instead of hiding it under a flake broadcast that fails in a season.
Moisture Testing: The Step That Gets Skipped the Most
Concrete is porous, and slabs move moisture through them constantly, especially in Florida where the water table sits high and many garage slabs were poured without a strong vapor barrier underneath. If moisture is pushing up through the slab and you seal a coating over the top, that vapor has nowhere to go. It builds pressure under the film until it lifts, blisters, or delaminates.
That is why real prep includes moisture testing before the first coat, not after the floor fails. Installers use methods like a calcium chloride test or relative humidity probes to measure how much vapor the slab is releasing. If the numbers are high, the fix is a moisture-tolerant primer or a vapor-mitigating base coat, chosen on purpose for that slab.
Skipping this step is one of the most common reasons a garage coating fails early, and it is invisible until it is too late. A floor can pass a visual check and still be quietly gassing off moisture that will break the bond months later.
Why a Poorly Prepped Floor Peels (The Failure Everyone Has Seen)
Almost everyone has seen it. A garage floor with a coating curling up at the edges, chips flaking off where you brake, big sections peeling like sunburned skin. It looks like the product was junk. It usually was not.
That peeling is a bond failure, and bond failure traces back to prep almost every time. The slab was not ground, so the coating had nothing to grip. Or a sealer was never removed, so the coating stuck to the sealer instead of the concrete. Or moisture was never tested, so vapor pressure pushed the film off from underneath. Or a crack was painted over and became the tear line.
Here is the honest part: a coating installed over bad prep looks identical to a good floor on day one. You cannot see prep in a photo, so the only way to know it was done right is to ask how the concrete gets prepped before you hire anyone.
What Good Prep Actually Looks Like, Step by Step
Strong prep is not complicated, but it is disciplined. Here is the sequence a floor should go through before any color touches it.
First, clear and clean the slab so the concrete is fully exposed and any oil is degreased. Second, diamond grind the entire surface to remove sealers and the weak surface layer and open a proper profile edge to edge, with hand tools finishing tight against the walls. Third, moisture test the slab and choose a primer that matches what the concrete is giving off. Fourth, repair every crack, joint, and spalled area with a rigid filler and grind it flush. Fifth, vacuum and clean again so no dust sits on the profile, because dust is a bond breaker too.
Only after all of that does the coating go down: base coat, flake broadcast, and a polyaspartic topcoat. Because polyaspartic cures fast, the whole floor can often be prepped and coated in a single day and driven on soon after. But that one-day finish only holds up because the prep underneath it was done right, not because the coating is magic.
Older Central Florida Slabs Need Real Grinding, Not a Shortcut
Homes around Winter Park and the older Orlando neighborhoods often have garages poured decades ago. Those slabs have history: old paint, past sealer jobs, oil that soaked in over the years, hairline cracking, and a hard troweled surface that acid simply cannot bite into. A vintage Winter Park bungalow garage is exactly the kind of floor where an acid wash gives a false sense of readiness and a coating fails within a year.
These floors reward proper diamond grinding more than any others. Grinding cuts through the layers of history, exposes sound concrete, and gives the coating a clean surface it can actually hold onto.
If your garage is on an older Central Florida slab, the smartest question you can ask an installer is simple: how are you prepping my concrete? If the answer is diamond grinding, moisture testing, and crack repair, you are talking to someone who understands that the coating is the last 20 percent. If the answer is a quick acid wash and a coat of epoxy, keep looking. As an owner-operated shop working across Orlando and Central Florida, that prep-first work is exactly what we do before a single flake goes down.
Frequently asked questions
- Is diamond grinding really better than acid etching for a garage floor?
- Yes. Diamond grinding physically removes old sealers, paint, and the weak surface layer of the concrete, and it opens a consistent profile the coating can lock into. Acid etching only lightly roughens the surface, cannot cut through sealers or oil-stained areas, and often leaves residue that weakens the bond. Grinding is the reliable method, and acid etching is a shortcut that tends to fail, especially on older or contaminated slabs.
- Why did my old garage floor coating peel?
- Peeling is almost always a bond failure that traces back to prep. Common causes are a slab that was never ground so the coating had nothing to grip, a sealer that was left on so the coating stuck to the sealer instead of the concrete, moisture that was never tested and pushed the film off from underneath, or a crack that was painted over and became a tear line. The product usually is not the problem. The prep was.
- What is moisture testing and does my slab need it?
- Moisture testing measures how much water vapor a concrete slab is releasing, using methods like a calcium chloride test or a relative humidity probe. It matters a lot in Central Florida, where slabs often sit over a high water table and move moisture upward. If a coating is sealed over a wet slab, vapor pressure builds underneath and eventually lifts or blisters the finish. Testing lets the installer pick a moisture-tolerant primer instead of gambling.
- Do cracks and spalling need to be fixed before coating?
- Yes. A coating is not a repair. If a crack or a spalled, flaking area is coated over, the flaw telegraphs through the finish and becomes the exact spot where the coating starts to fail. Proper prep means chasing out cracks, cleaning the pits, filling them with a rigid repair compound, and grinding everything flush so the surface is uniform before any color goes down.
- If prep is so important, why can a floor be done in one day?
- Polyaspartic coatings cure fast, so a floor can often be ground, prepped, coated, and ready to drive on within a day. The speed comes from the coating chemistry, not from skipping steps. The grinding, moisture testing, and crack repair still happen first. A one-day install only lasts because the prep underneath it was done correctly, not because the process was rushed.
Related services
Serving
Ready for an exact price?
Get a free, no-pressure in-home estimate. Real numbers for your home, not a phone guess.